Documentation Index
Fetch the complete documentation index at: https://help.referralcatch.com/llms.txt
Use this file to discover all available pages before exploring further.
Interactive Demo
Watch the full referral walkthrough, then follow the written steps below if you need more detail on any screen.Step-by-Step Walkthrough
Click New Referral
Click the New referral button in the upper-right corner of the ReferralCatch page.
Choose a Specialist
You’ll land on the Receiving office information screen. Click the Select doctor… dropdown and start typing the specialist’s name.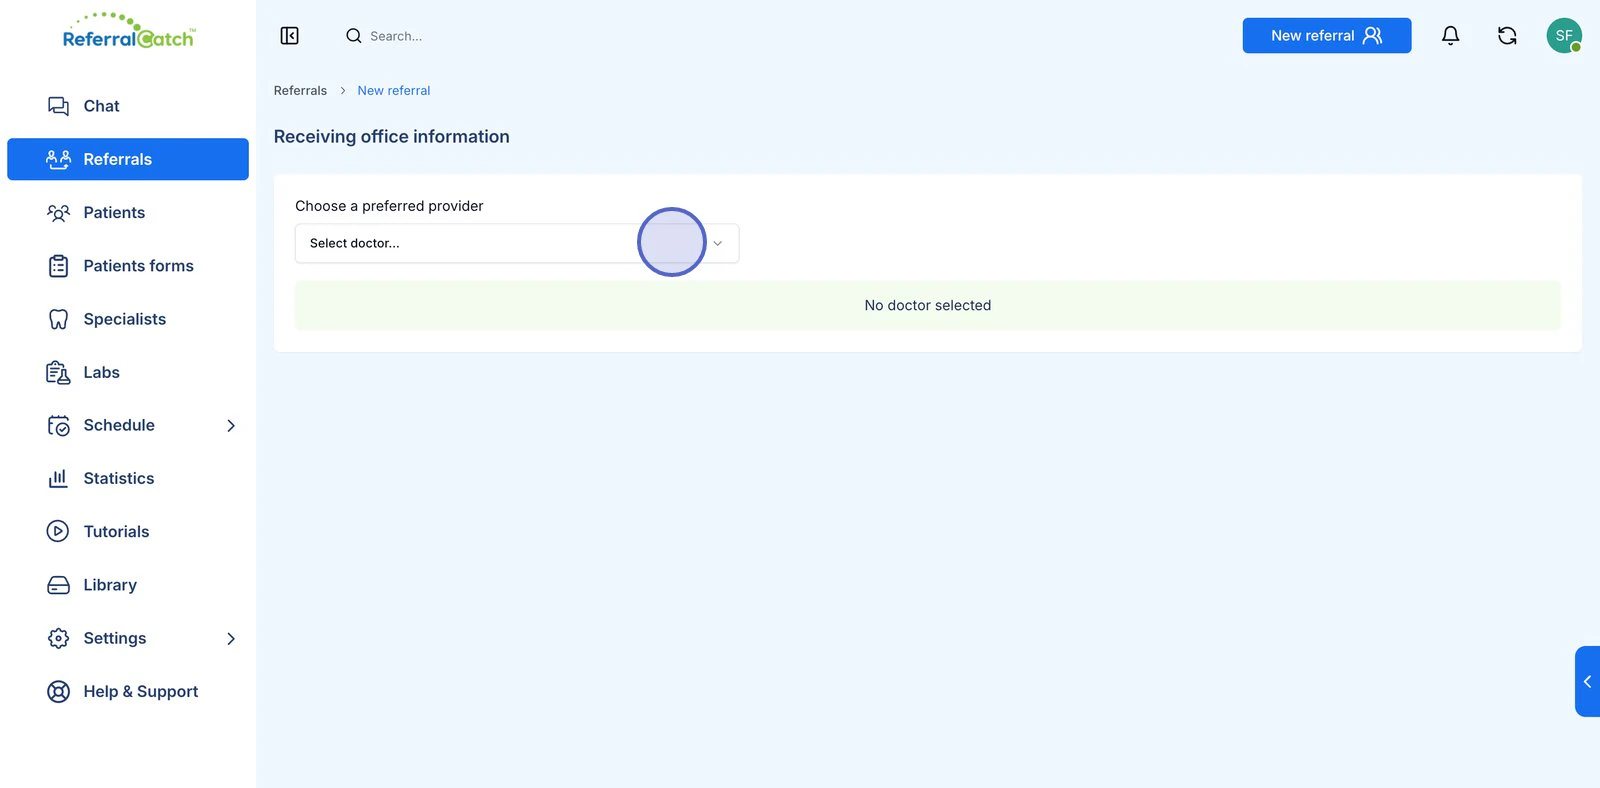
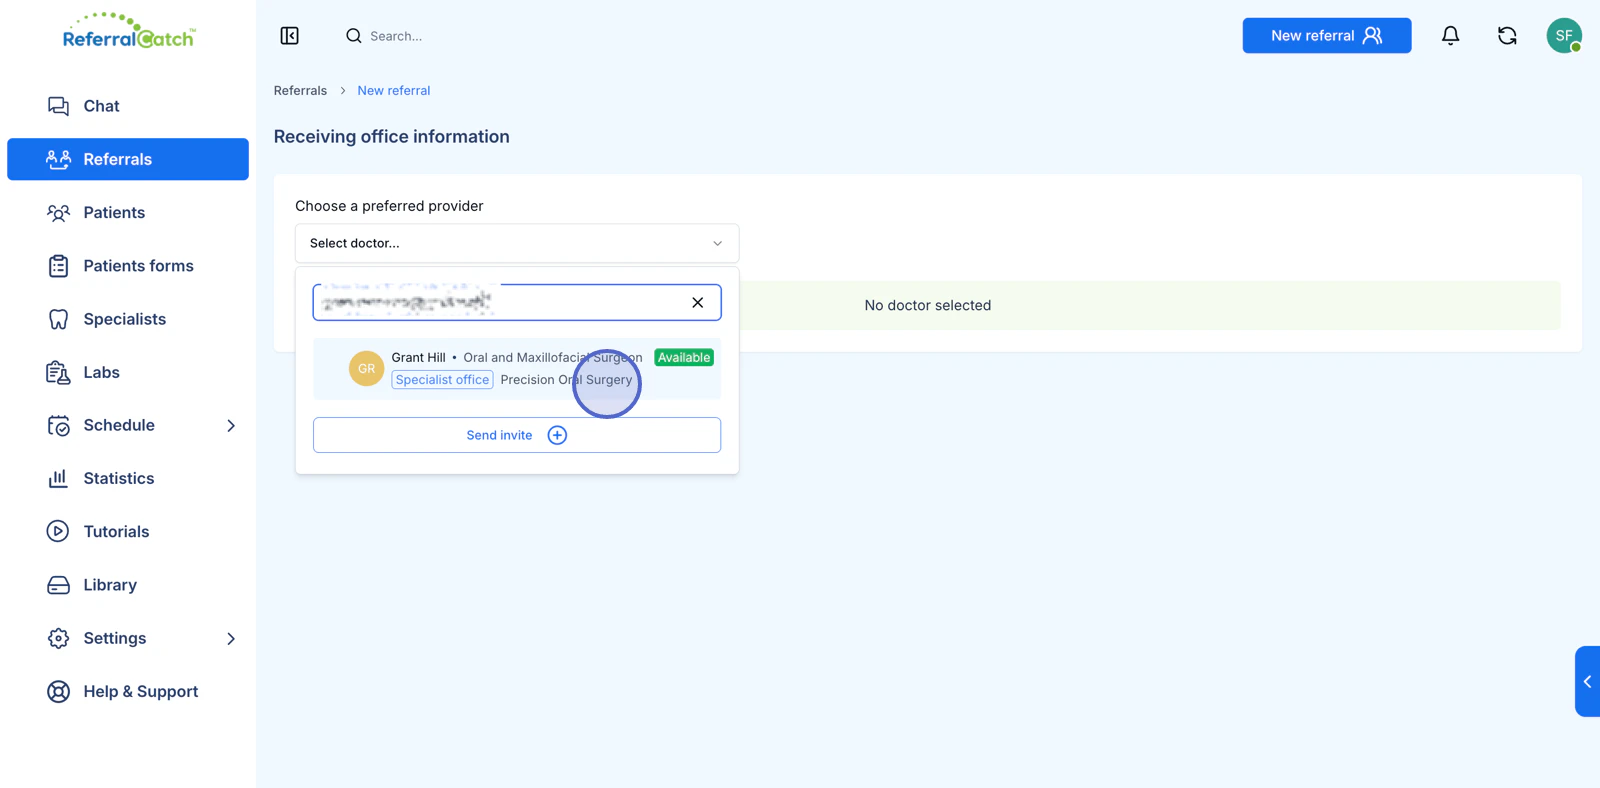

Don’t see your specialist in the list? Click Send invite at the bottom of the dropdown to invite them to join ReferralCatch. Once they accept, they’ll appear in your network for future referrals.
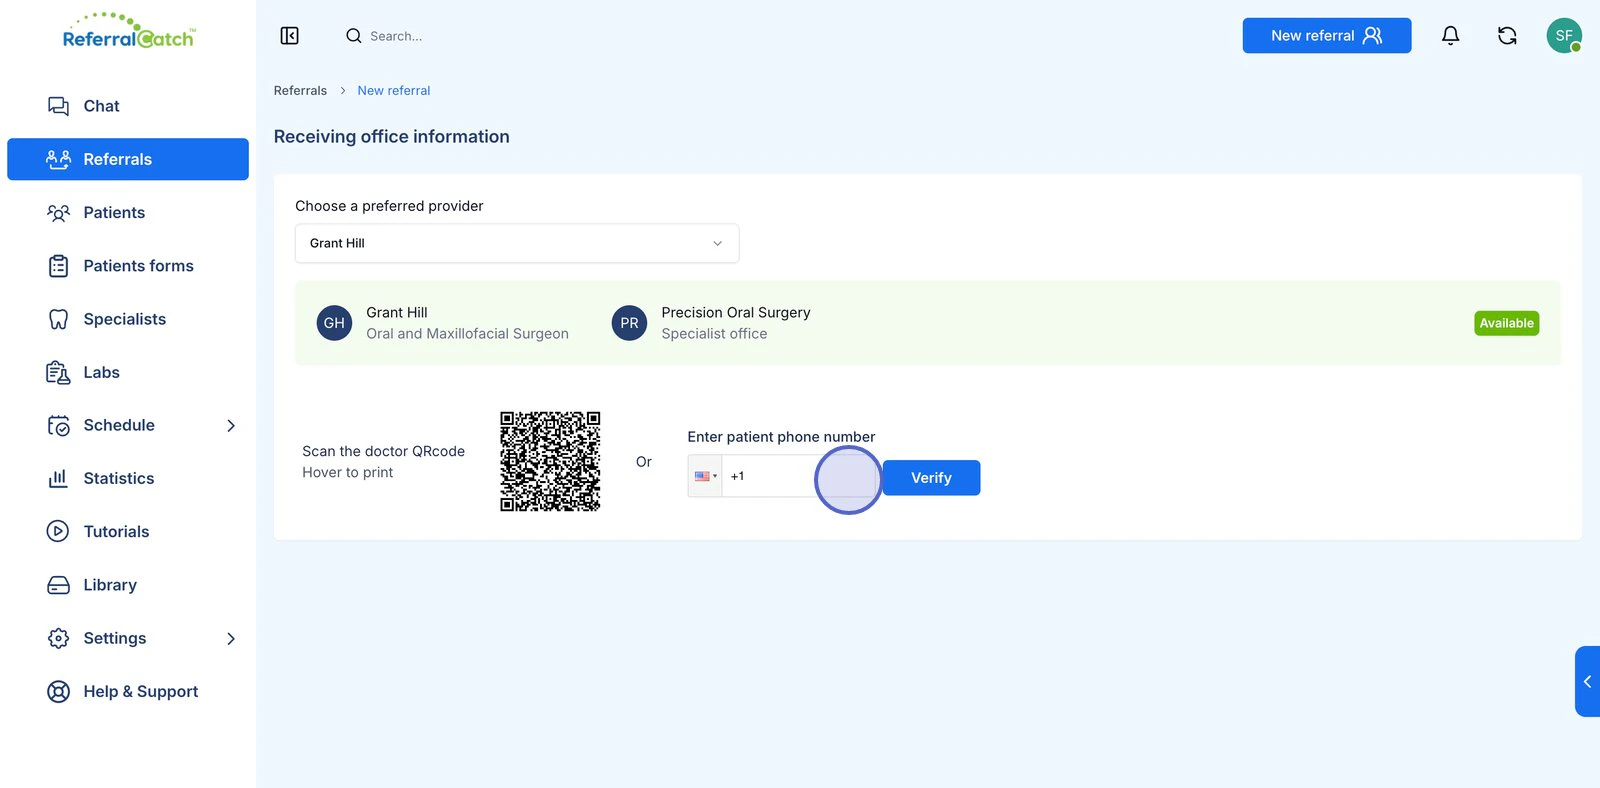
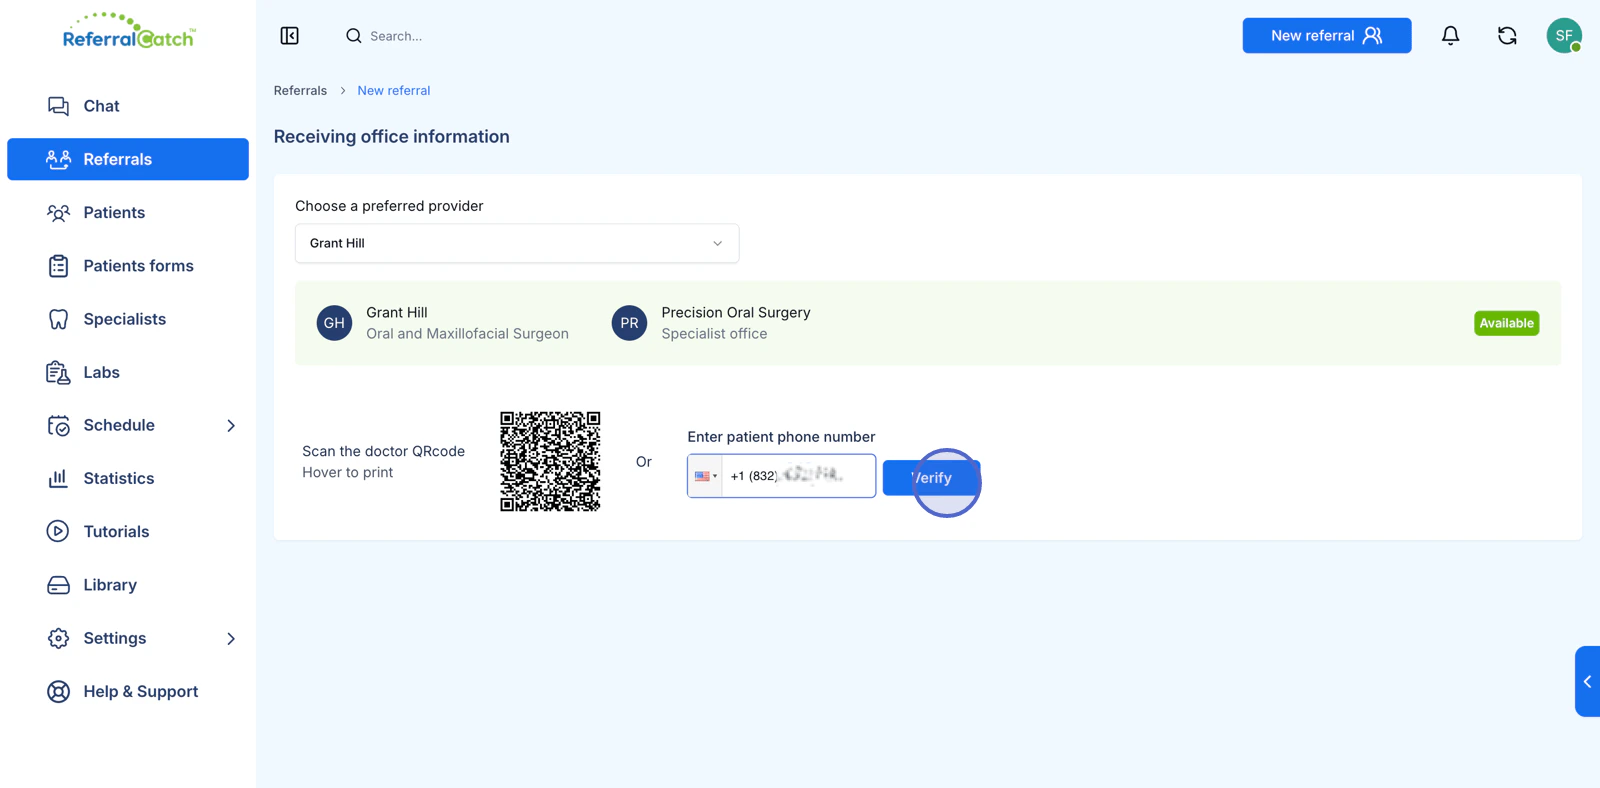
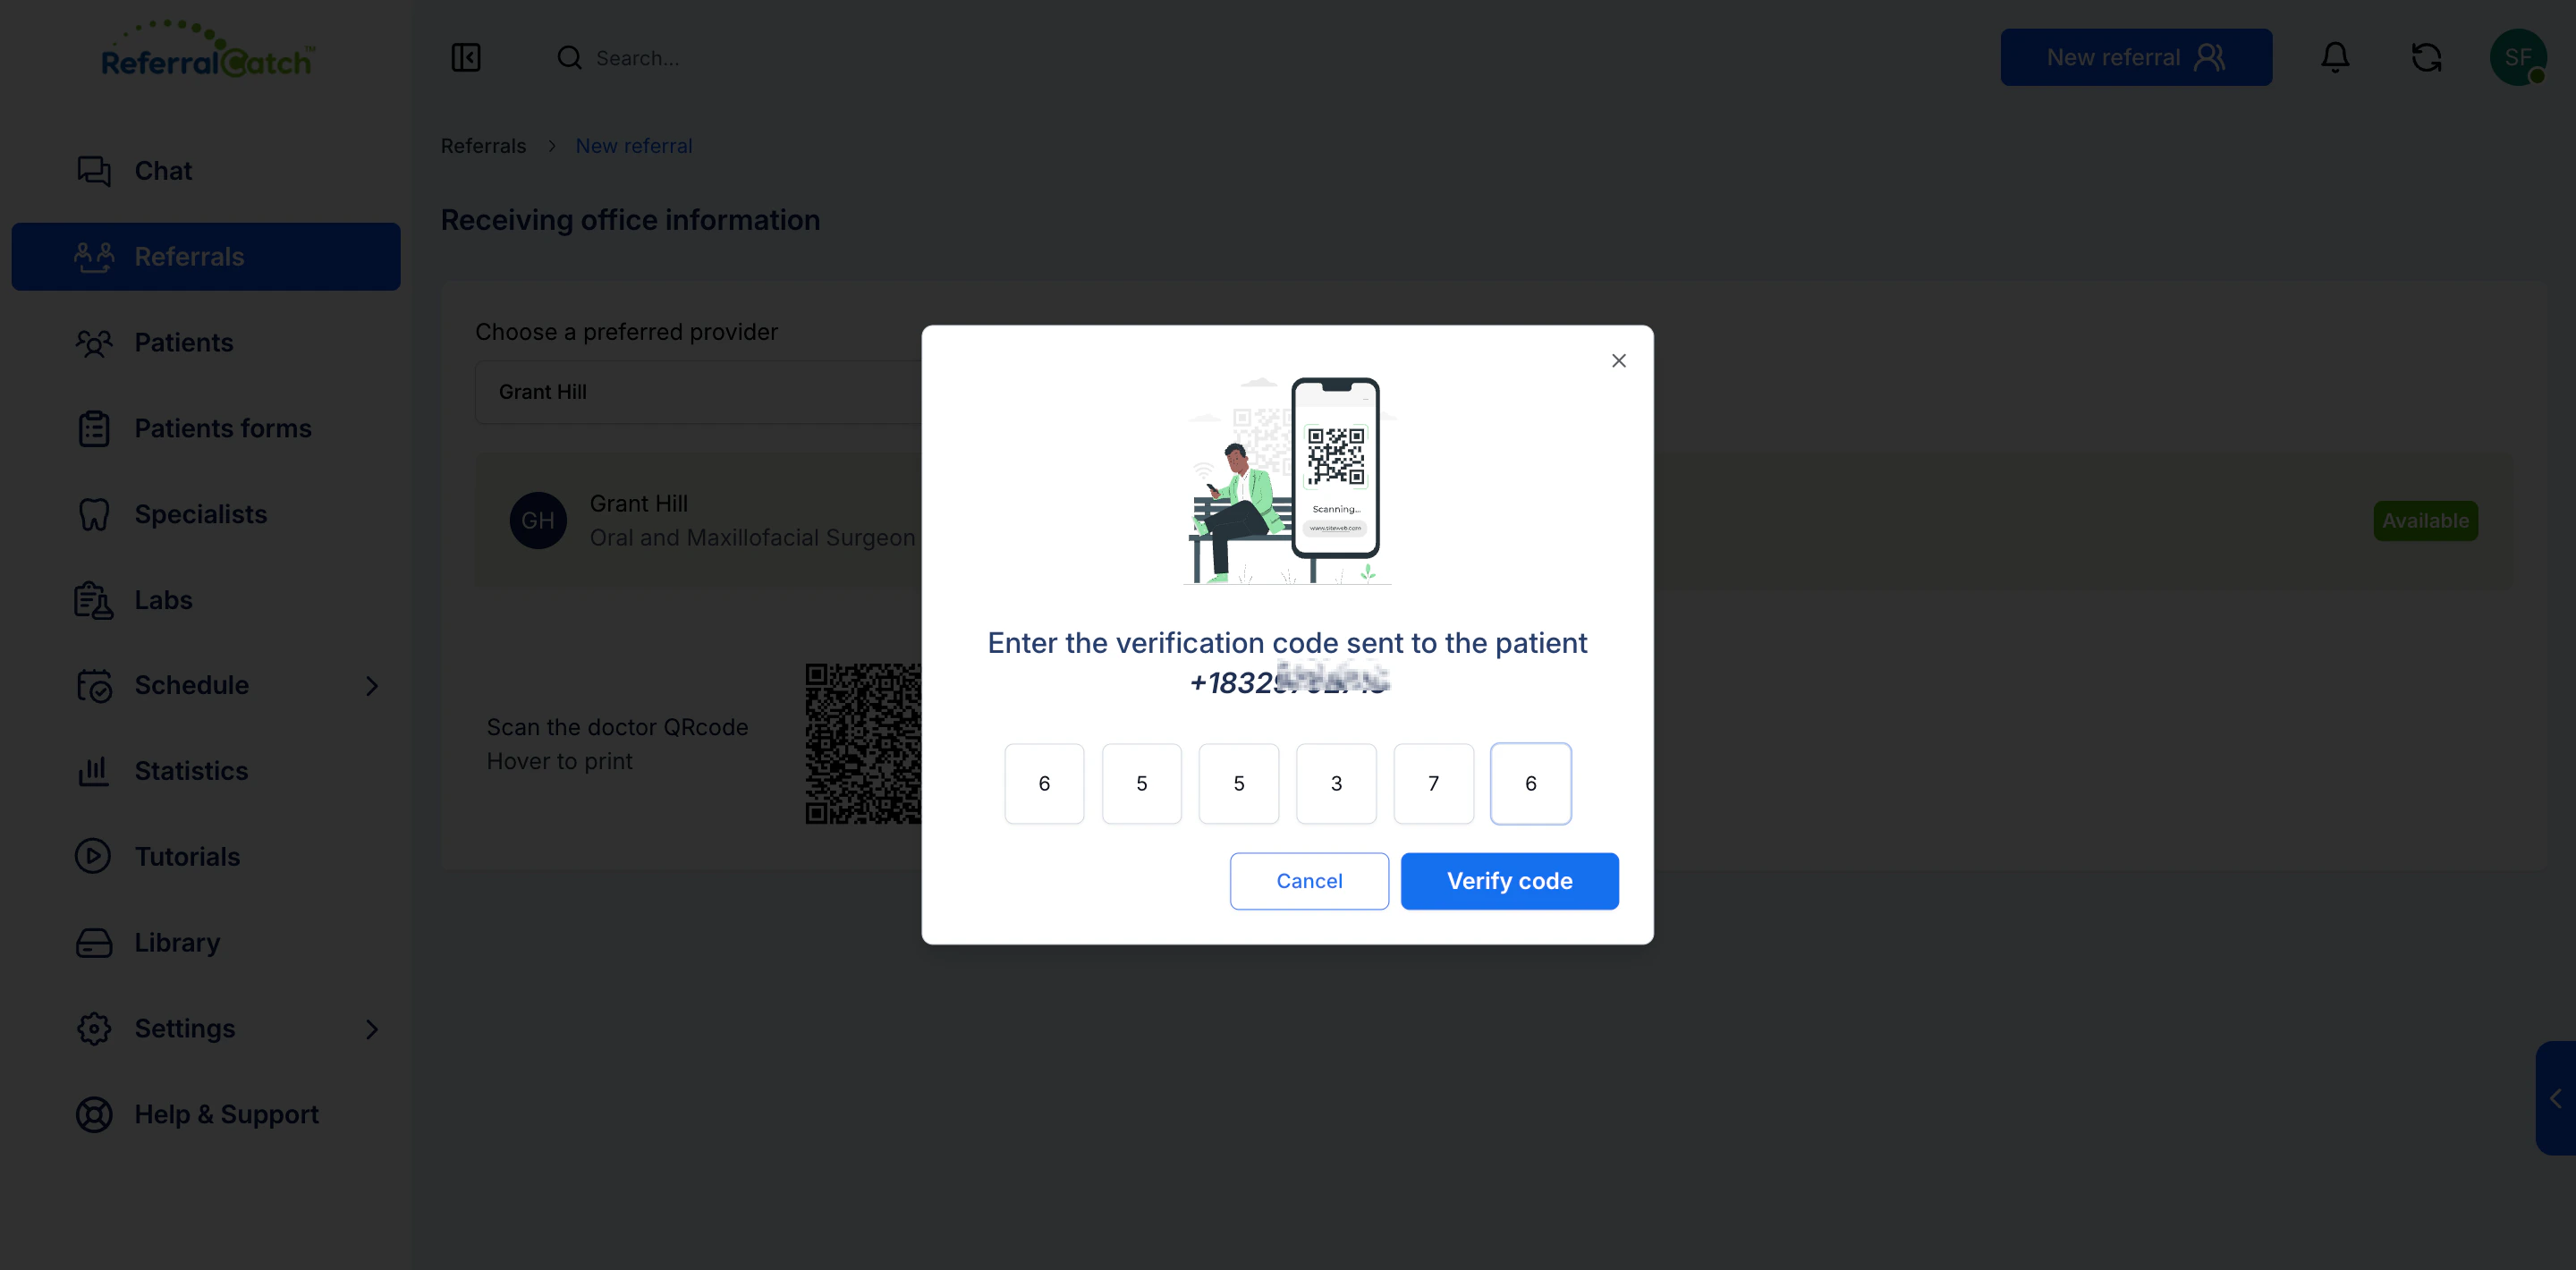
Verify the Patient
Before entering patient details, ReferralCatch verifies the patient’s identity. You have two options:

| Option | How it works |
|---|---|
| QR code | Hover over the QR code to print it. The patient scans it on their phone to self-verify. |
| Phone number | Enter the patient’s mobile number and click Verify. They receive a 6-digit code by text. |
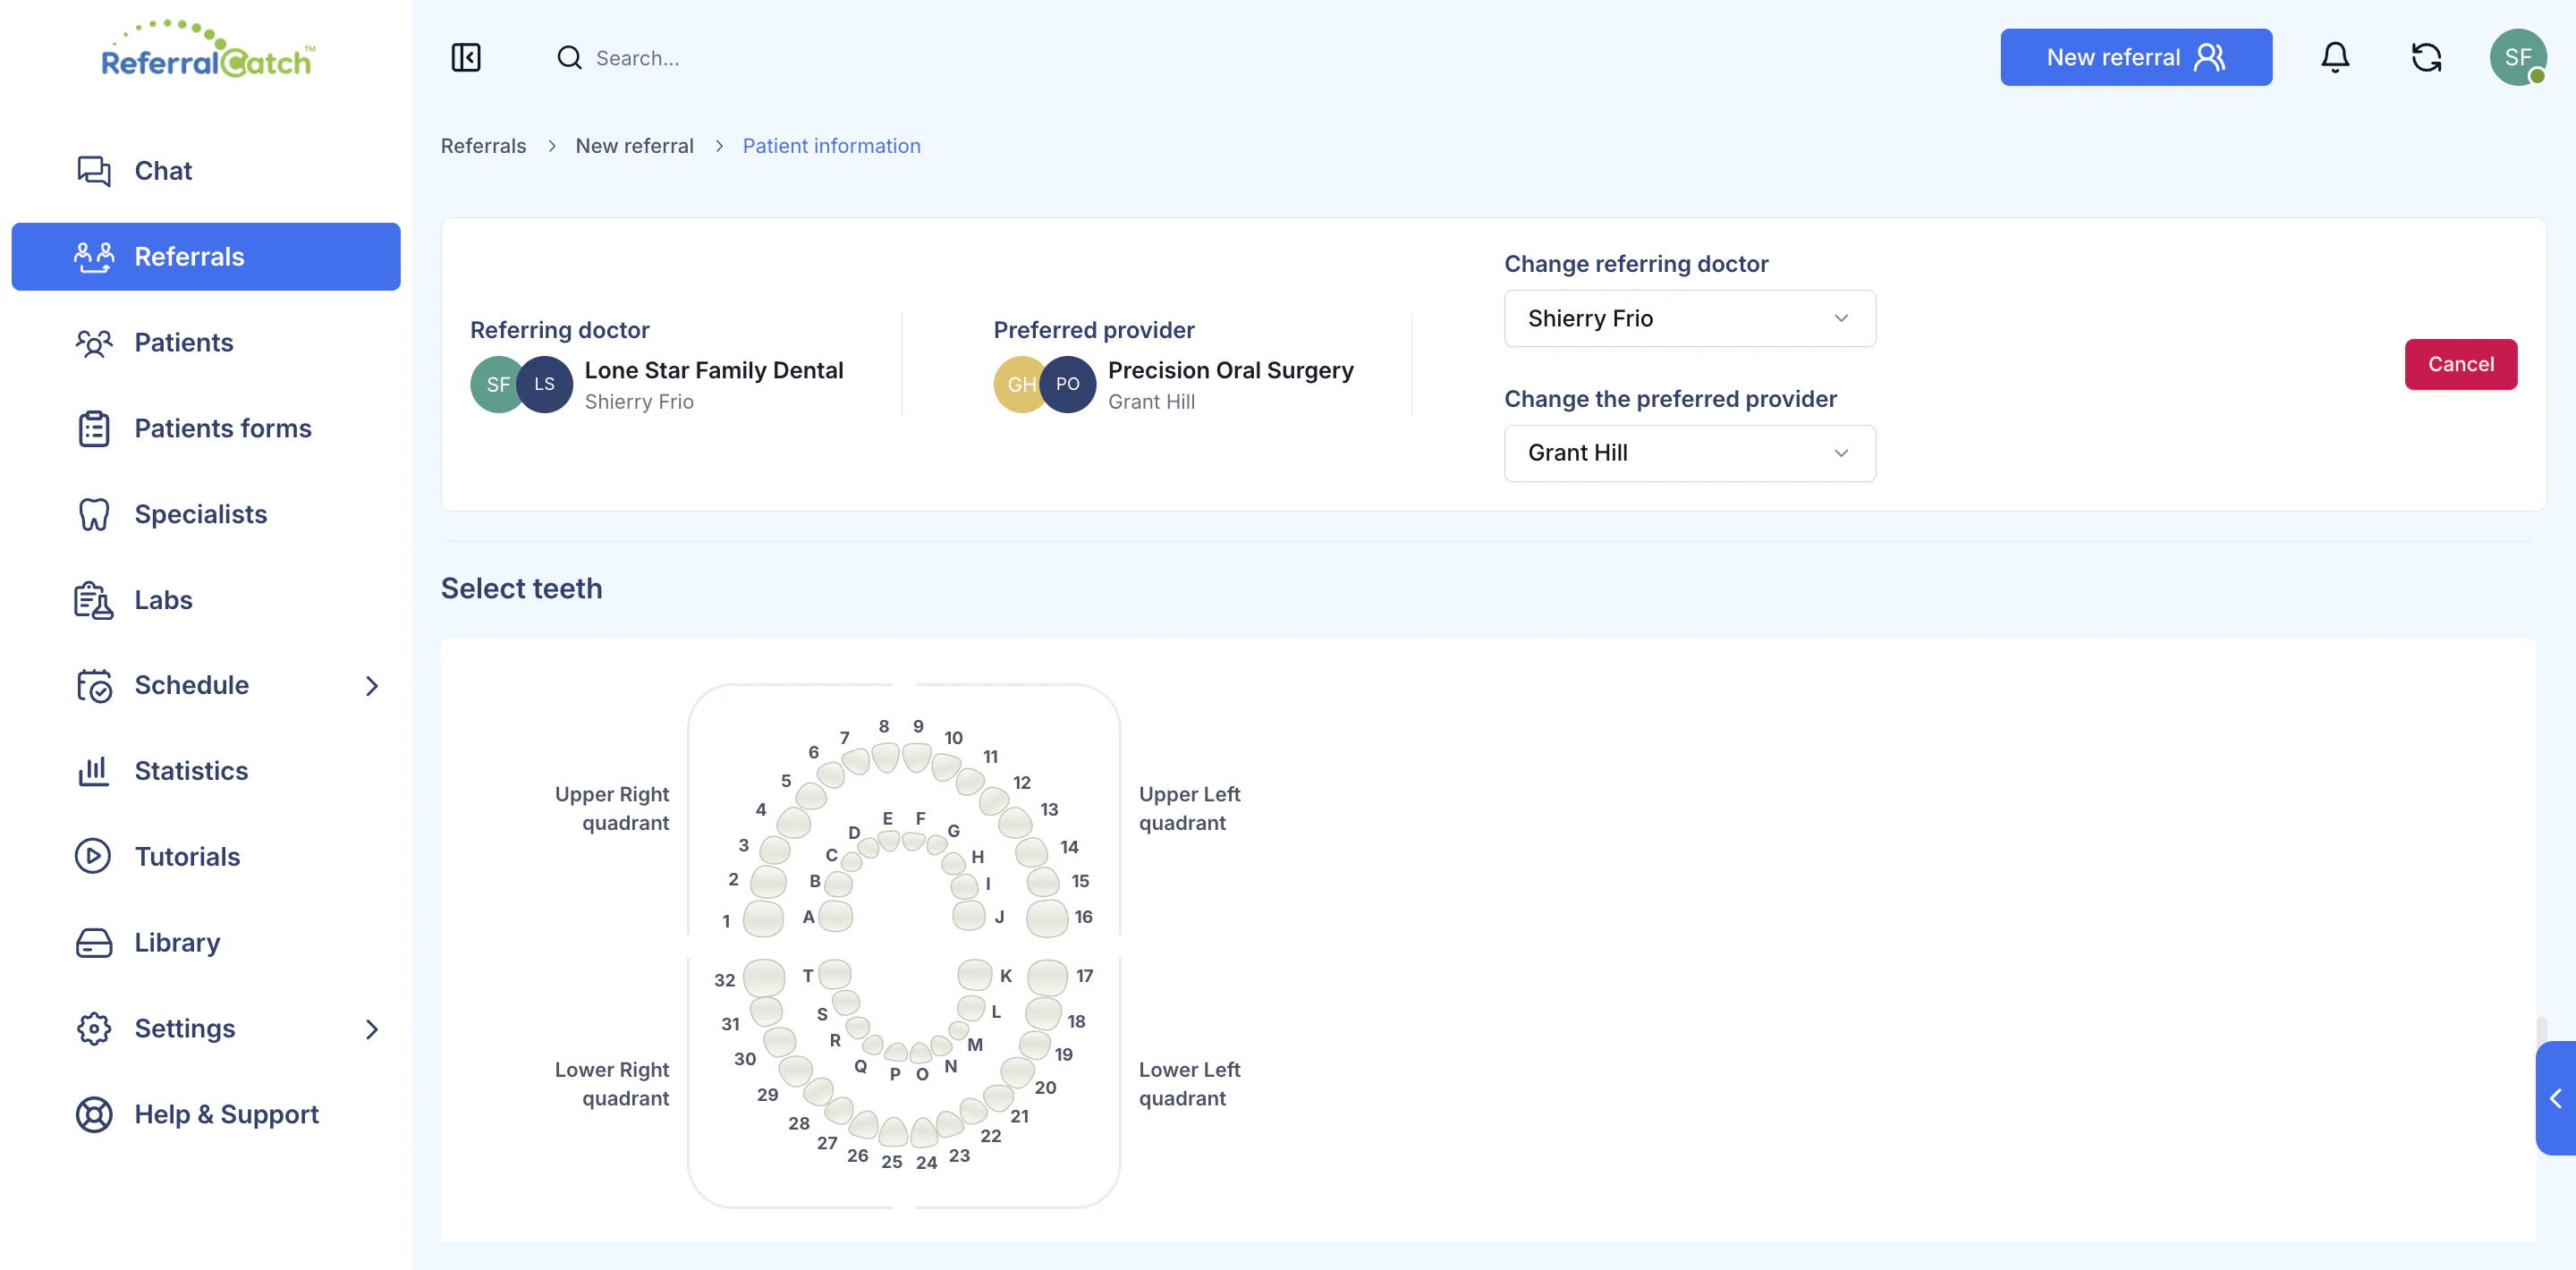
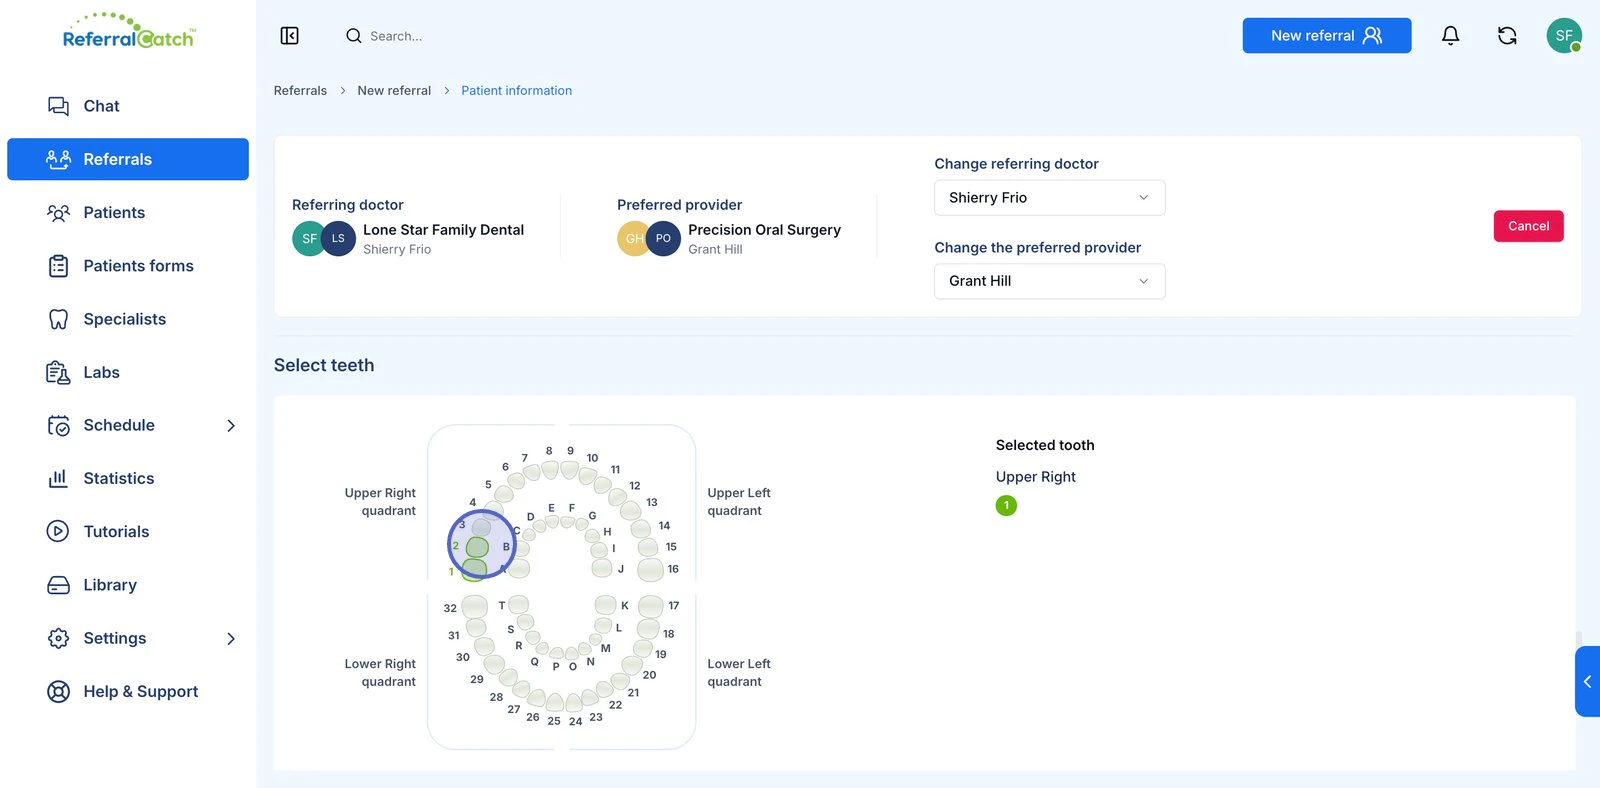
Fill In Patient Details
The Patient information screen lets you enter all clinical details for this referral. The referring doctor and preferred provider are shown at the top — use the dropdowns on the right to change either one if needed.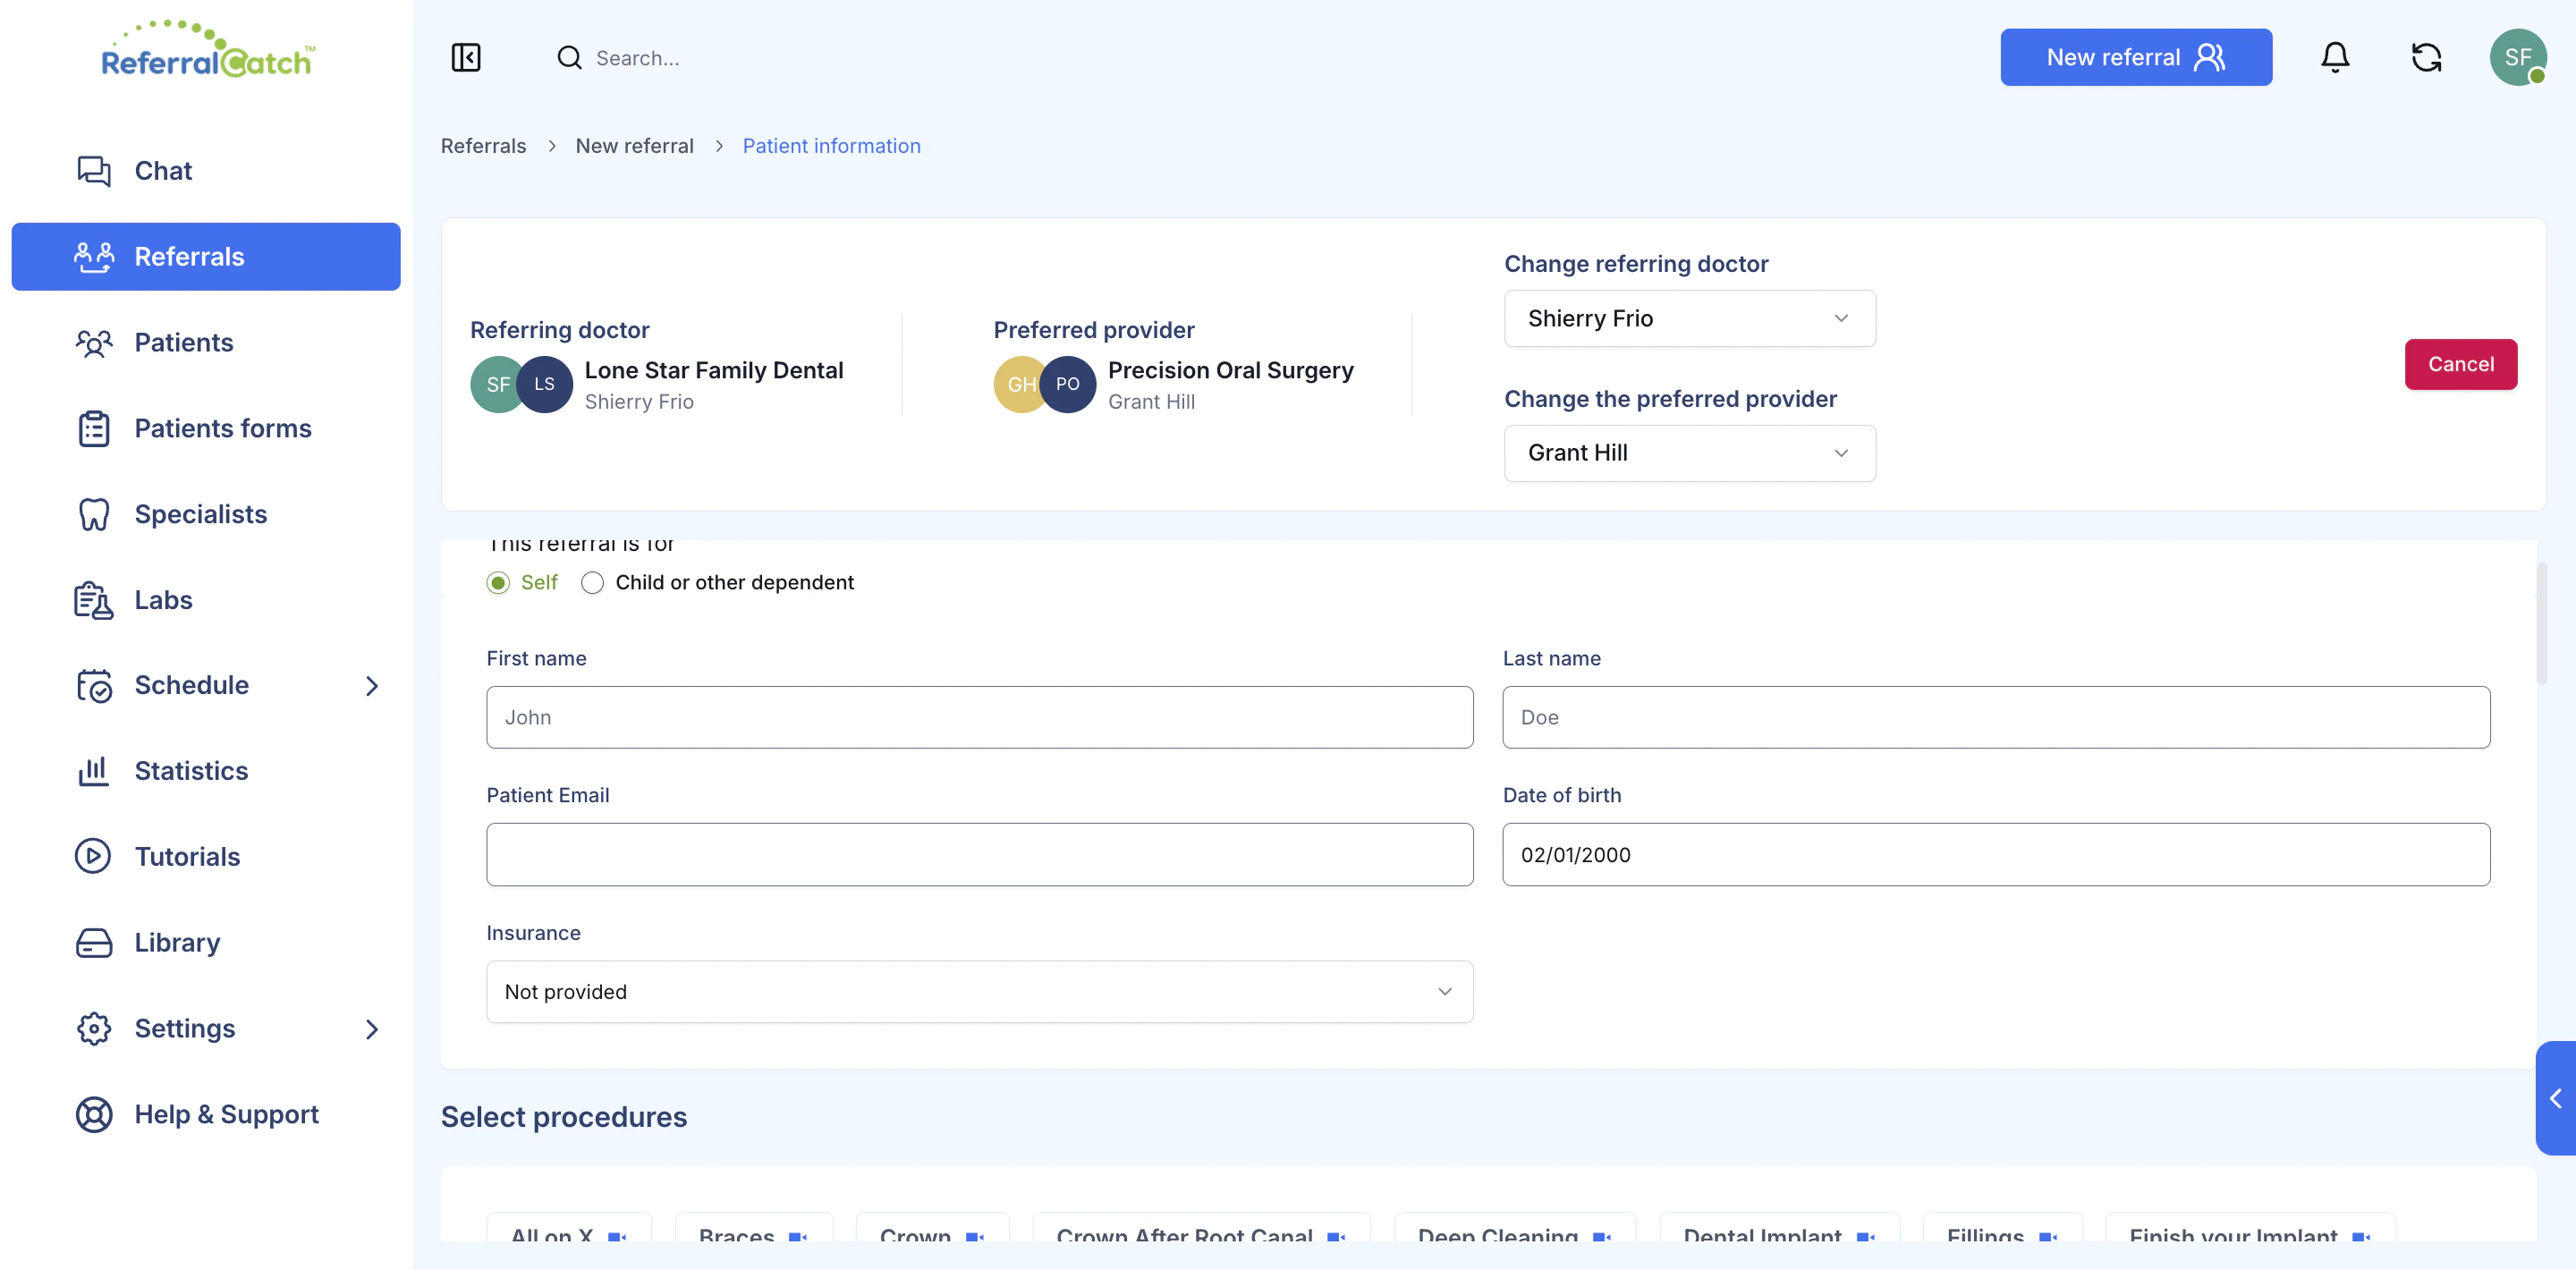
| Field | Notes |
|---|---|
| This referral is for | Self for the patient, or Child or other dependent |
| First name / Last name | Patient’s legal name |
| Patient email | Optional — used for patient-facing notifications |
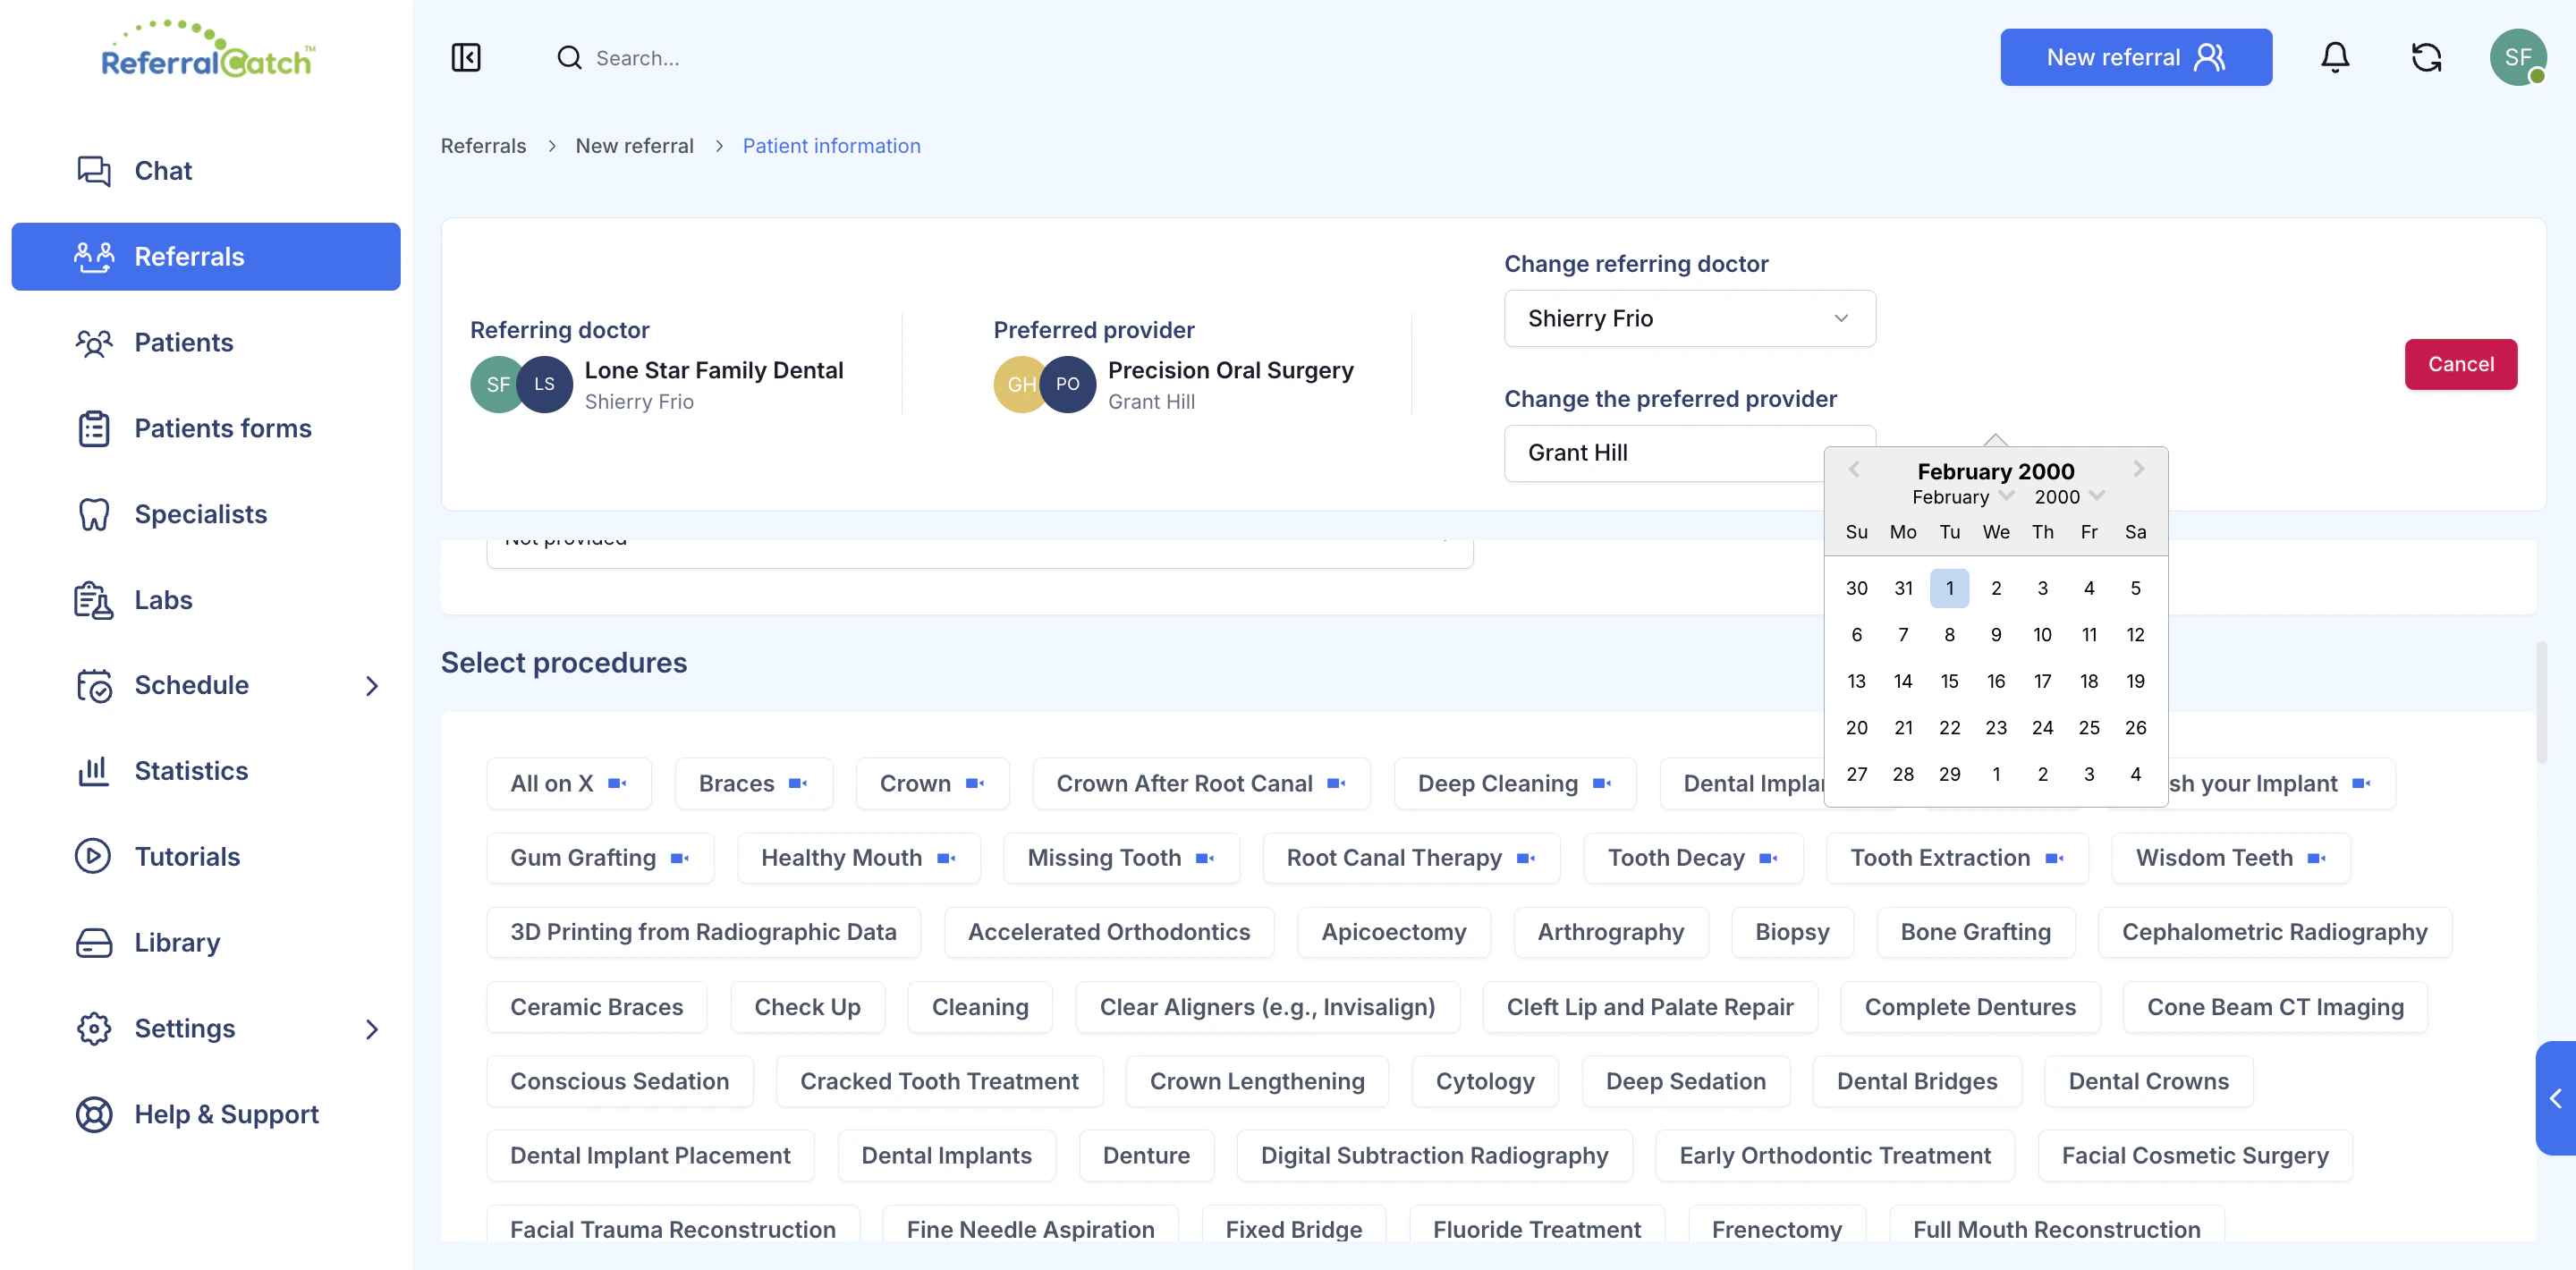
| Date of birth | Use the calendar picker |
| Insurance | Select from the dropdown, or leave as Not provided |
Select Procedures
Below the patient fields, click any procedure tag to add it to the referral. You can select multiple procedures. The list includes common procedures (Braces, Crown, Deep Cleaning, Fillings) as well as specialized ones (Bone Grafting, Cone Beam CT Imaging, Root Canal Therapy, Wisdom Teeth, and many more).Upload X-Rays and Select Teeth
Scroll down to attach clinical media and mark which teeth are involved.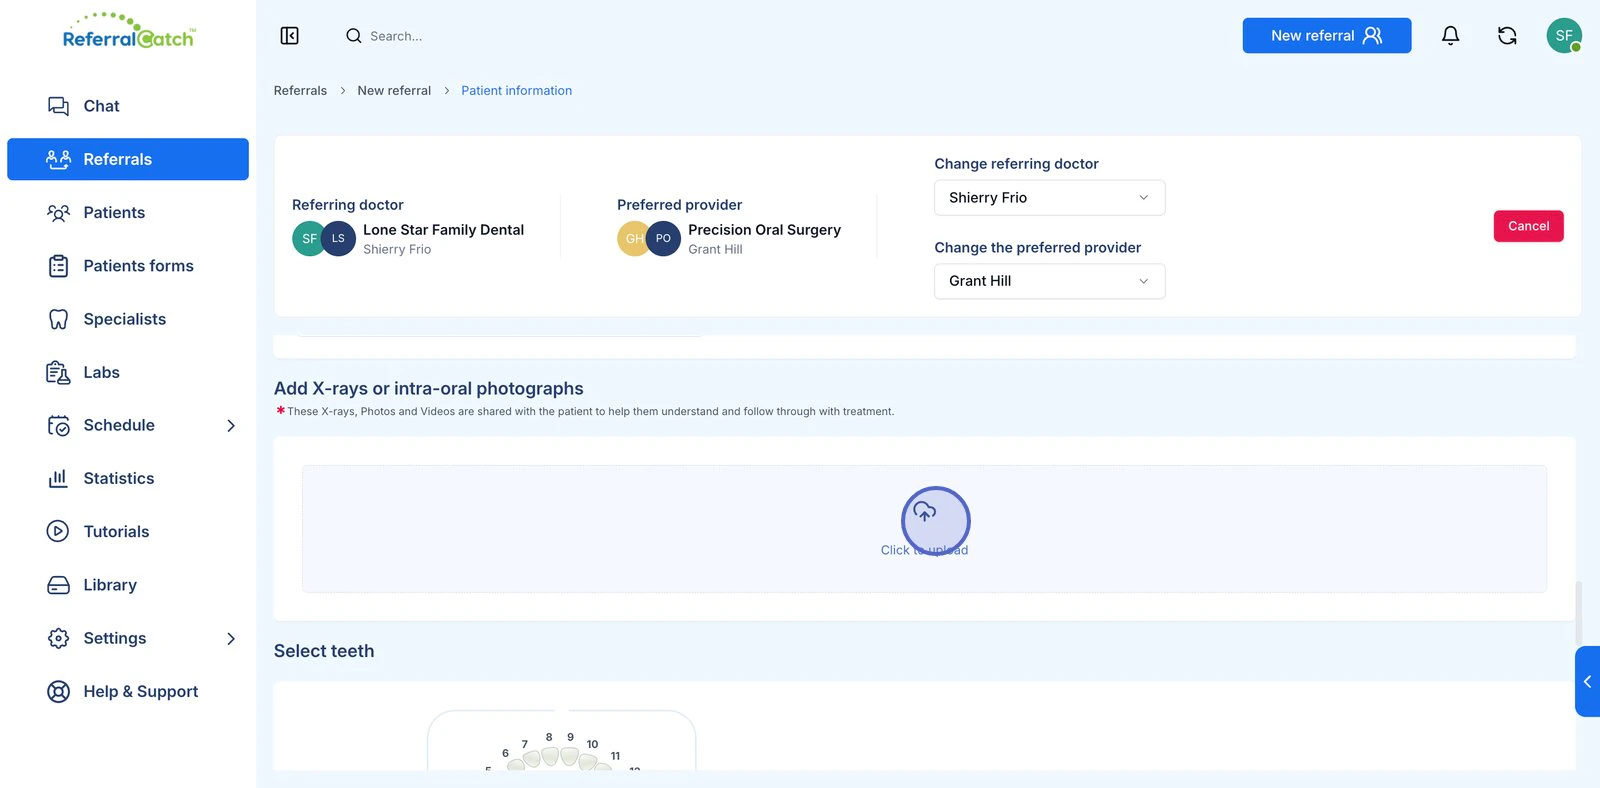
X-rays and intra-oral photographs
Select teeth
The interactive dental chart lets you mark which teeth are being referred. Click any tooth in the chart to select it.The chart uses standard US tooth numbering — 1–32 for permanent teeth, A–T for primary (baby) teeth.
Add Notes and Additional Files
Scroll down to the Quick notes & additional files section.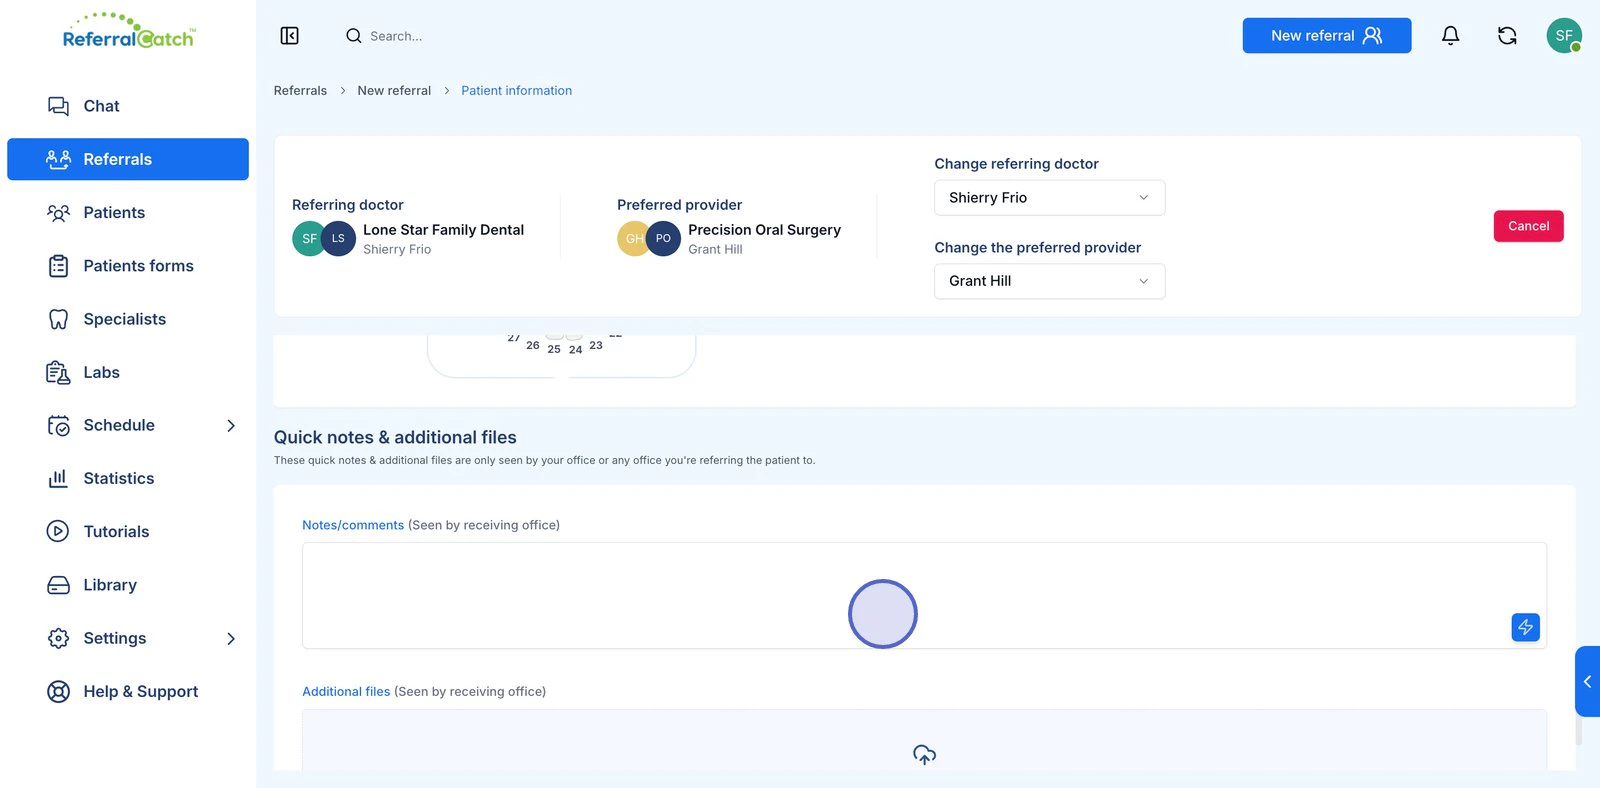
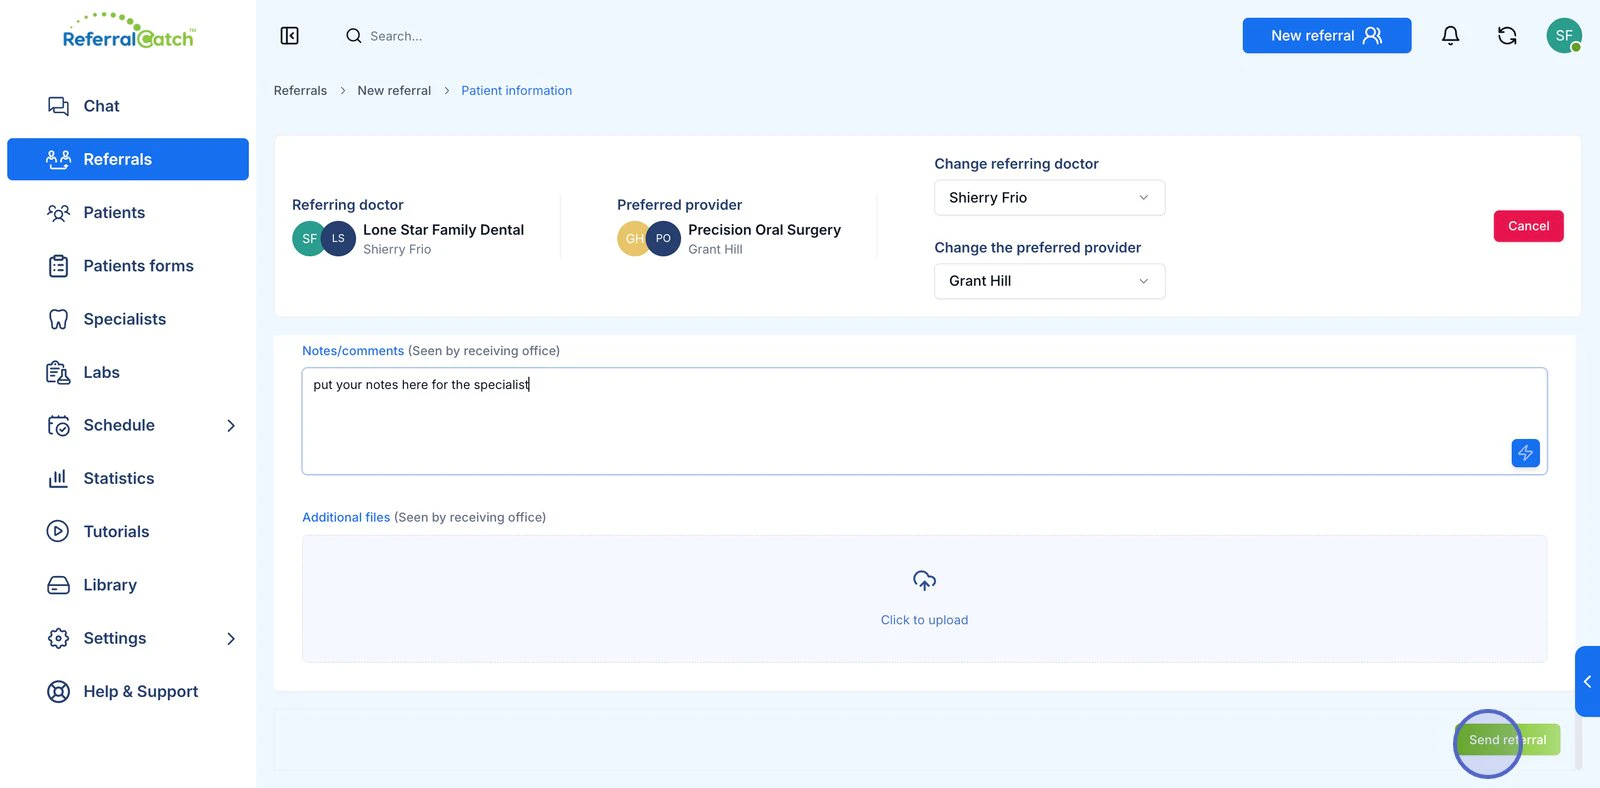
Notes and files in this section are visible only to your office and the receiving specialist’s office — they are not shared with the patient.
What Happens After You Send
| What happens | Who acts |
|---|---|
| Specialist receives a notification | ReferralCatch alerts the receiving office |
| Status updates to Scheduled | Specialist confirms the appointment date |
| Patient receives referral details | Sent to the patient’s phone or email |
| You can message the specialist | Use the Chat tab directly on the referral |
Frequently Asked Questions
Can I change the specialist after sending?
Can I change the specialist after sending?
No — once a referral is submitted, the receiving provider is locked. Contact us at support@referralcatch.com if you need to redirect a referral.
What if the patient doesn't receive the verification code?
What if the patient doesn't receive the verification code?
Ask them to check their spam or junk folder. If it still doesn’t arrive, confirm the phone number is correct and resend. Codes expire after a short window — a fresh request generates a new one.
Can I add multiple procedures to one referral?
Can I add multiple procedures to one referral?
Yes. Click as many procedure tags as apply — all selected procedures are included in the referral the specialist receives.
Are uploaded X-rays stored securely?
Are uploaded X-rays stored securely?
Yes. All files uploaded to ReferralCatch are encrypted in transit and at rest, in compliance with HIPAA requirements.
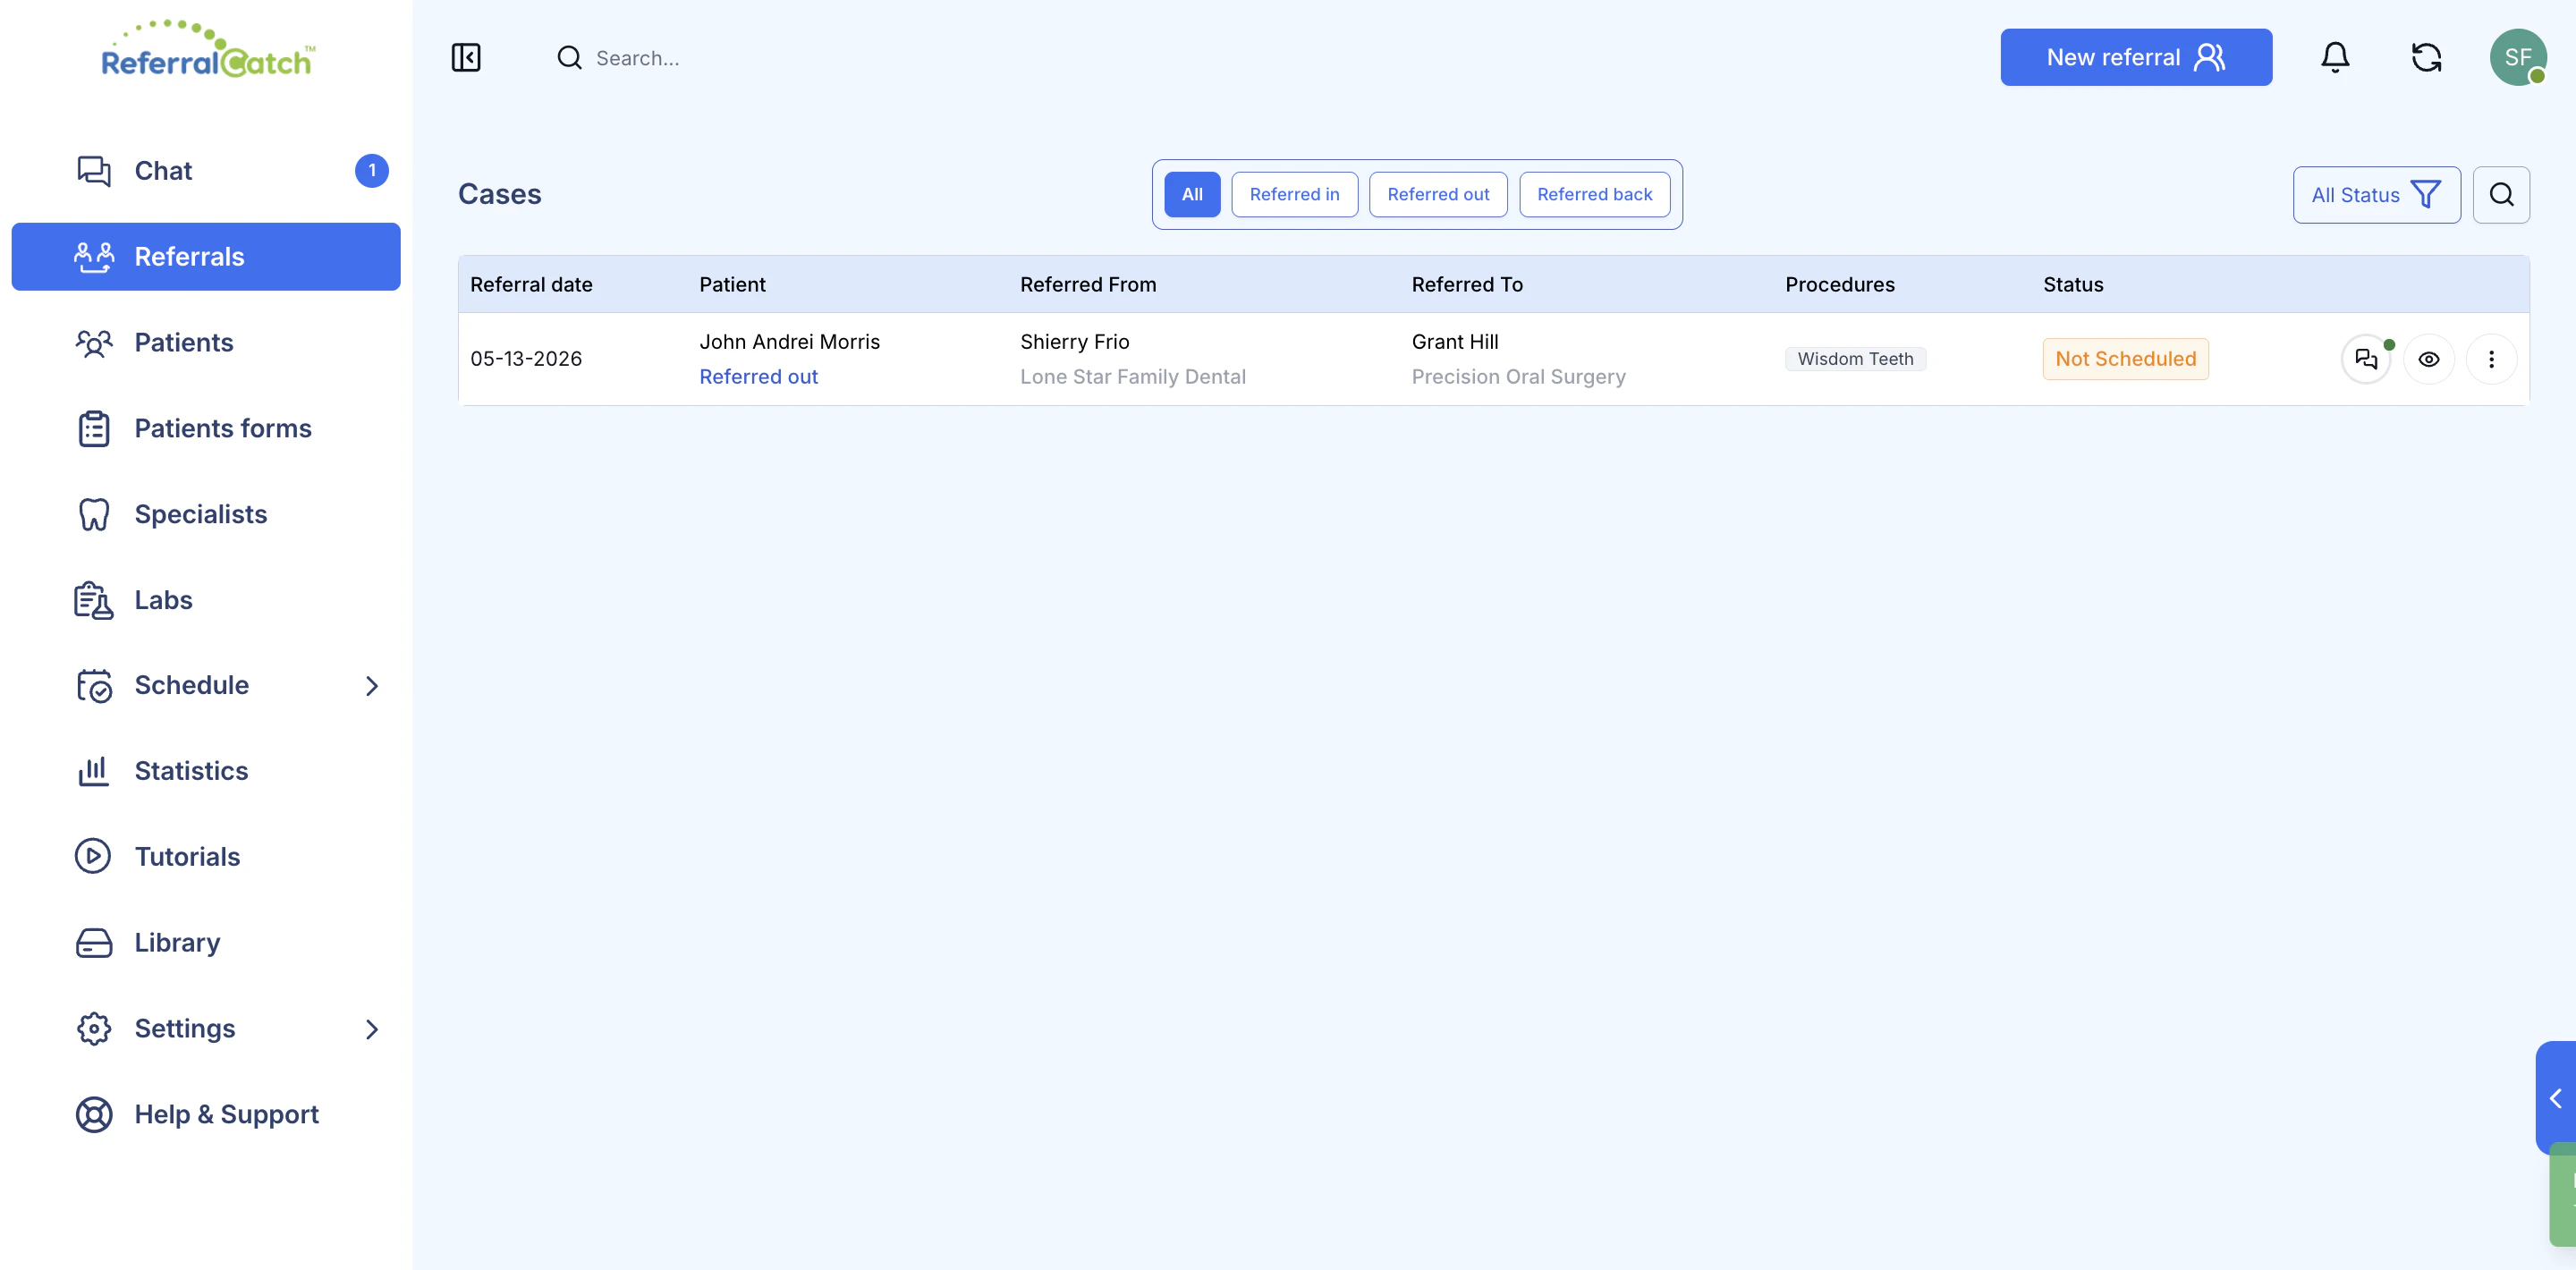
What does 'Not Scheduled' mean?
What does 'Not Scheduled' mean?
It means the referral has been sent and received, but the specialist has not yet confirmed an appointment date for the patient. Once they schedule, the status updates automatically.